
Creating Instructional Materials Tutorial
You can create new instructional materials and attach them to existing lessons using the following steps.
1. Navigate to the Contribute page and choose the instructional material link.
You will now be presented with a template for creating new instructional material.
2. First please enter a title for your new instructional material in the first text box at the top of the page:

3. Choose the type of material that you are creating:

4. Now you can enter the content of the material in the text editor with the title body
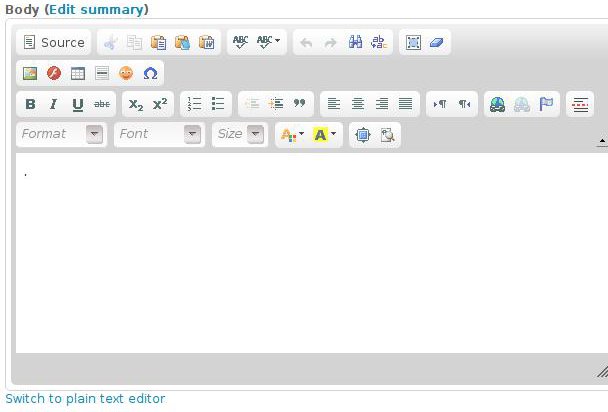 If you are only entering text or attaching files you can type into the box and then skip ahead to the next step.
Creating a link to other material:
To create a link to other material first type the text that you would like in the text editor box. Then highlight your text and click on the link button
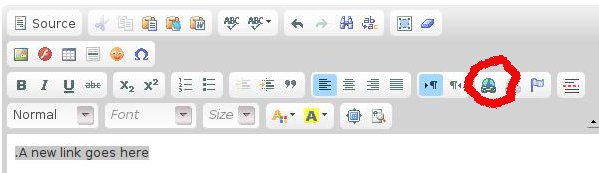
You will now be presented with a new window to insert your link
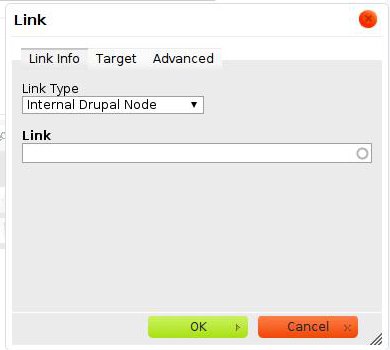
By default you can add a link to another page in the site, in order to link to a page not in the stemrobotics sites change the "link type" to url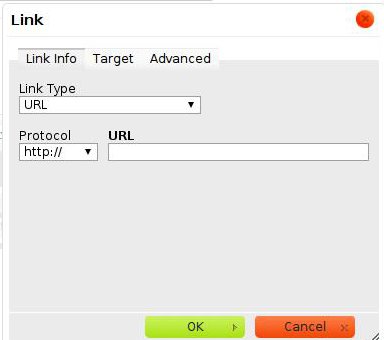
Now you can enter your new link in the URL box and click the ok button. Your text will now appear as a link once you have saved this page.
Inserting an image:
If you want to insert an image that is on your hard drive you must first upload the image to the website. Please skip to the next step to upload you image and then return here to insert it into the page. To insert an image into your new page click the image button on the editor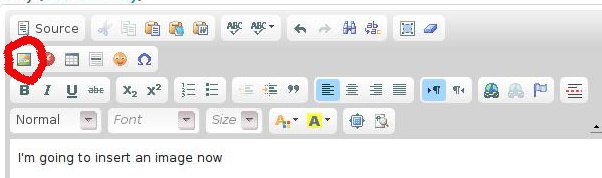
You will now be presented with a new window for inserting the url of your image, even if you just uploaded your image you will still need to enter its url here
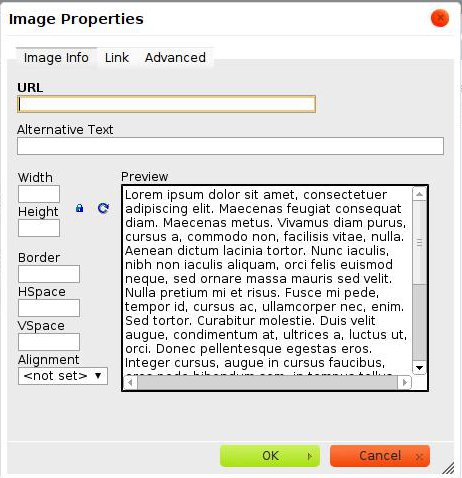
On this page there is only one piece of information you need to enter which is the URL of your image. If you are adding an image from somewhere else on the web enter the full url in the URL box. If you are inserting an image you just uploaded, in the URL box, enter "/sites/default/files/" followed by the name of the image you just uploaded.
5. Attaching files
Now you may attach as many files as you would like. For files that are not videos click the browse or choose file botton and then select the file you would like to upload

Once you have selected your file make sure to then press the "Upload" button to upload the file to the site.
If you are attaching a video and would like it to appear in a player in the page use the Video attachment tool
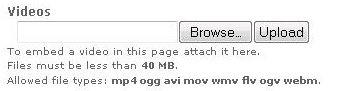
You can once again browse to find your file and then press the "Upload" button to upload the video to the site.
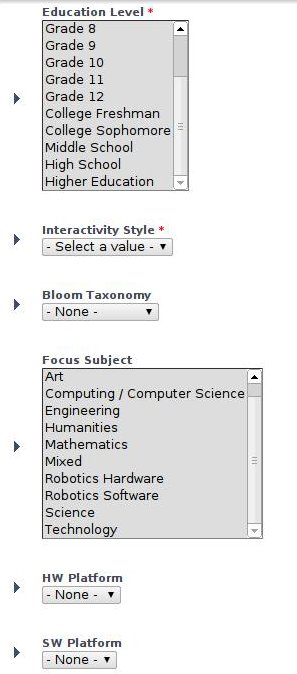
6. Specifying Metadata for your new material.
You can now enter the metadata for your new material. Please make the appropriate choices for your material.
7. Linking your new material to an existing lesson.
If you reached this page from a lesson creation page you can skip this step. Now you can link your new material to an existing lesson by choosing the appropriate lesson and how your material should be attached. You only need to select the lesson once in one of the following 3 boxes. Please choose the box according to which type of material you are creating.
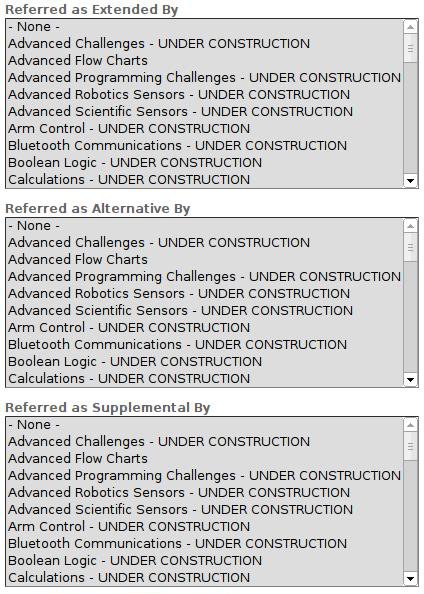
Once you have chosen your lesson in one of these 3 boxes you can ignore the following boxes and scroll to the bottom of the page to save your new material.
8. SAVE YOUR MATERIAL
Make sure to click the save button at the bottom of the page when you are finished.

